
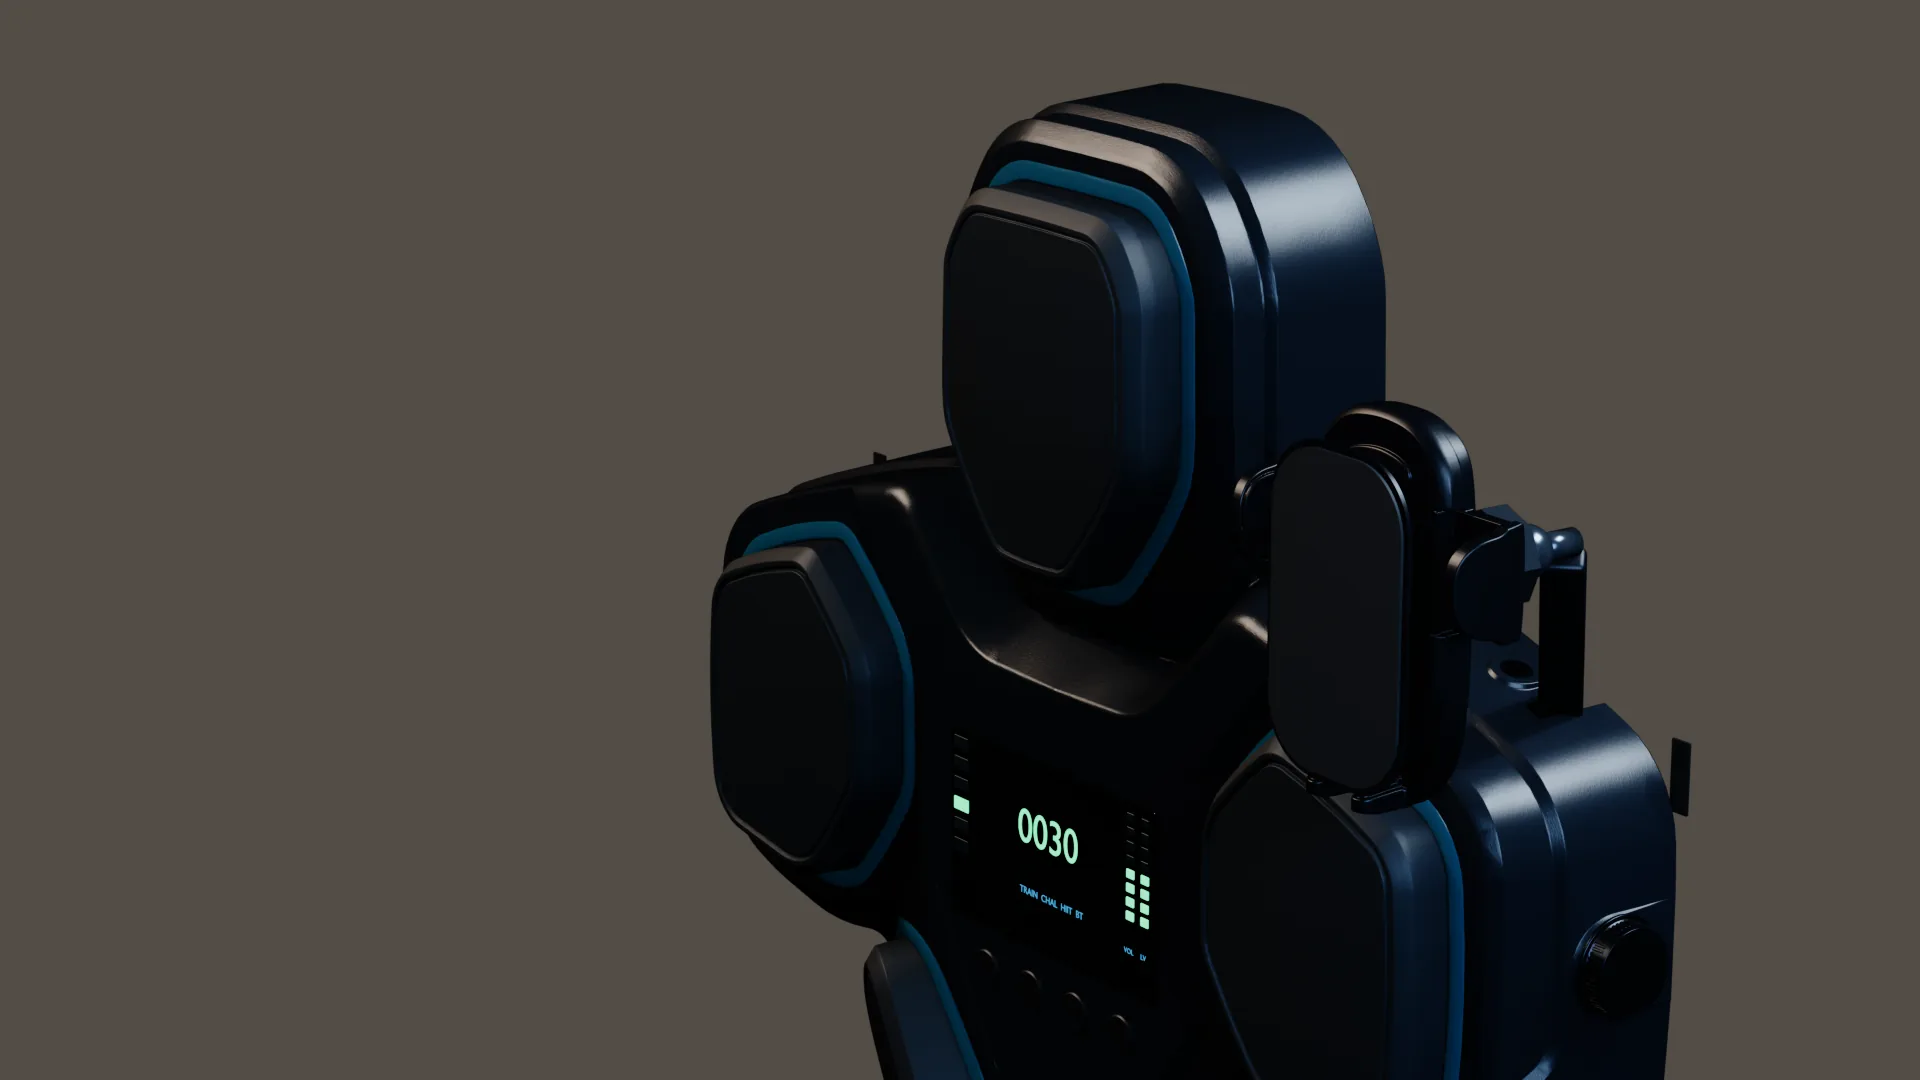
A wall-mounted music boxing machine needs more than enough wall area for the device. Plan a clear training zone based on the user's comfortable reach, full stance depth, small side steps, and safe clearance from furniture, doors, and traffic. Use the final installation template and manual for product dimensions, wall compatibility, hardware, and mounting height.
Why is the movement zone more important than the product footprint?
A product can fit on a wall and still fail in the room. The user stands in front of it with one foot behind the other, extends the arms, shifts weight, and may step slightly left or right. A coffee table, cabinet, rug edge, door swing, or walkway can interfere even when it never touches the device.
Check three separate areas:
- Wall zone: the surface occupied by the trainer, phone holder, controls, and required mounting area.
- Strike zone: the space between the user and the target through which the hands and arms travel.
- Movement zone: the floor area needed for stance, recovery, a modest step back, and controlled lateral movement.
The third layer is the one most often overlooked. A wall-mounted design saves floor storage compared with a freestanding object, but it does not turn the exercise into a stationary wall tap. If the user has to stand square, shorten the stance, lean forward, or avoid furniture with every punch, the location is too constrained.
Do not judge the location from an empty-room photo. Test it with the intended user in position.
How do you measure reach without a published product dimension?
Start with the person, then add the final product template when it is available. Mark the user's working zone first instead of planning around an unverified width, height, or required distance.
Use this body-based method for a candidate location:
- Stand facing the wall in a comfortable boxing stance, wearing the footwear you expect to use.
- Raise the hands to a relaxed guard and extend a controlled straight punch toward the wall.
- Stop with the arm naturally extended but not locked and without lifting the shoulder, bending at the waist, or reaching off the back foot.
- Have another person place a small removable tape mark where the knuckles would contact a flat target.
- Return the hand to guard and repeat from the other side.
- Take a small lateral step in each direction and repeat the reach check.
The purpose is not to calculate one perfect number. It is to identify a comfortable working band where both hands can reach without distortion. Use the installation template supplied with the product to place the actual target-zone layout within that band.
If the target field would force the user to reach upward with shrugged shoulders, lean forward, or lock the elbow at common targets, adjust the proposed mounting position before installation. If the final instructions specify a different placement or method, follow those controlled instructions.
How should you plan the floor area for stance and lateral movement?
Mark the floor, not just the wall. Removable painter's tape makes the invisible training footprint easier to evaluate.
Begin at the comfortable strike-distance mark. Place the lead and rear feet in the stance you can hold without feeling crowded. Then test five movements slowly:
- return both hands to guard after a straight punch;
- shift weight without the rear foot hitting an object;
- take a small step backward and regain the original position;
- step laterally to the left while remaining oriented to the target;
- step laterally to the right and return.
Outline the area used by the feet and add enough practical buffer that a hand, elbow, or shoulder will not meet furniture during an imperfect repetition. The buffer is person- and room-specific; publishing one universal distance would create false precision.
Now test the room as it actually operates:
- Open nearby doors, closets, and drawers.
- Walk the normal household route past the training spot.
- Place any chair, mat, or stored item where it usually sits.
- Check whether a pet or child commonly crosses the zone.
- Verify that the user's backward step does not enter stairs, a sharp corner, or a busy passage.
The training footprint should remain a no-storage zone during use. A basket or stool that is "easy to move" often becomes the object someone forgets to move.
What wall and side clearances should you verify?
Check the final KINEPEAK manual for exact wall compatibility, hardware and mounting requirements. Before choosing the location, answer these practical questions:
Before installation, verify these questions with the approved instructions:
- Is the wall type supported?
- What mounting materials and surface preparation are required?
- Are there prohibited surfaces or finishes?
- What clearance is required around the device for installation, controls, and service?
- Are there requirements for cable routing or charging access?
Check the sides as well. A punch path, elbow or lateral step should not meet a window, mirror, shelf, television, picture frame, wall light or open door. The phone holder should remain easy to reach. Keep the wall below the trainer and the floor in front of it free of furniture and decor.
Wall-mounted equipment can transmit impact sound and vibration into the building surface. Consider what is behind the wall and when the product will be used. A bedroom or neighboring unit on the other side may make an otherwise spacious location impractical.
How do you choose installation height for one or several users?
Installation height should be chosen around real reach, not a generic eye-level rule. The intended user should be able to address the target field while maintaining a stable stance and controlled punch path. Use the official template to see where all five target zones fall relative to that person's comfortable working band.
For a household, test each intended user before mounting:
| User check | Pass condition |
|---|---|
| Highest target | Reachable without rising onto the toes, shrugging excessively, or losing stance |
| Lowest target | Reachable without collapsing posture or leaning into the wall |
| Left and right targets | Reachable without crossing the body awkwardly or stepping into an obstacle |
| Strike distance | Allows controlled extension without locked elbows or crowded contact |
| Lateral position | Leaves clear floor at both sides of the primary stance |
KINEPEAK's installation height is essentially fixed after mounting. It is not a quick-adjust system for users with very different reach heights. If one location cannot provide a reasonable target field for everyone, do not hide that conflict. Choose a primary user, limit shared use to compatible users, or select a different equipment format.
Two people can take turns in Challenge, but turn-taking does not solve a height mismatch. Likewise, a younger person should not be told to compensate by jumping, overreaching, or standing on an object.
How this works on KINEPEAK
KINEPEAK is a wall-mounted trainer with five target zones, four buttons, a rotary knob, a phone holder, and a lower hook. Those elements need to remain visible and accessible from the chosen position. The target field must sit within the user's controlled reach, and the floor in front must support stance and modest movement.
The core Train, Challenge, and HIIT experience does not require an app or subscription, so the location does not need to be planned around constant screen interaction. A phone may sit in the holder for Bluetooth background audio, but the music does not control the target prompts.
Measure the intended user and the room first, then compare those marks with the product dimensions, hardware and wall requirements supplied with the unit.
What should you do before mounting?
Run a dry rehearsal in the candidate location.
- Create a temporary target field. Use the official template when available; before then, use removable tape only to evaluate body position, not to authorize installation.
- Test the primary user's reach. Check center, upper, lower, left, and right positions with controlled straight paths.
- Tape the stance footprint. Include the rear foot, a small step back, and left/right movement.
- Recreate the room's normal obstacles. Open doors and restore furniture to its usual position.
- Test every intended user. Record who fits and who does not.
- Listen from adjacent spaces. Lightly simulate the expected contact only if it can be done safely without striking an uninstalled product; assess whether the wall location is likely to disturb others.
- Read the supplied installation guide completely. Confirm the supported surface, mounting materials, preparation process, clearances and any professional-installation requirement before installation.
Use this article to screen the room before mounting. Use the product manual for the actual installation method.
Practical takeaway
A candidate location passes only when all five statements are true:
- The official product template fits the supported wall area.
- The primary user can reach the full target field without strained posture.
- The stance, step-back, and side-step footprint stays clear.
- Doors, furniture, traffic, and fragile objects remain outside the movement zone.
- The supplied installation guide confirms the wall, hardware and installation method.
If any statement fails, change the location before changing the user's movement. The room should adapt to safe, controlled practice; the user should not adapt by leaning, shortening the stance, or avoiding obstacles mid-round.
Frequently asked questions
Can I install a music boxing machine above a cabinet or console?
Only if the furniture remains completely outside the user's strike, stance, and movement zones and the final installation instructions permit the location. In most cases, furniture directly below or in front of the target consumes the space the user needs to stand and move.
How far should I stand from the wall?
Use your controlled reach rather than an invented universal distance. In stance, a straight punch should reach the target without a locked elbow, forward collapse, or excessive shoulder reach. Confirm the final placement with the official target template.
Can the mounting height be adjusted for children and adults?
KINEPEAK stays essentially fixed after mounting, so test every intended user before installation. Structured teen workout content begins at 12+ with appropriate supervision; younger-child use is limited to direct parent-guided light practice.
Is a narrow hallway a good installation location?
Usually not if normal traffic, doors, walls, or corners intrude on stance and lateral movement. A wall may be wide enough for the device while the hallway remains too narrow for controlled training.
What wall type does KINEPEAK require?
Use the final KINEPEAK manual and included installation requirements to confirm the wall type. This article focuses on reach, floor space and room layout.
Explore KINEPEAK
After checking your wall, reach and clear movement zone, explore the KINEPEAK product overview and keep your measurements ready for installation planning.
Sources
- KINEPEAK Product (confirmed product layout, controls and modes)
- KINEPEAK Support (installation guidance and manual updates)